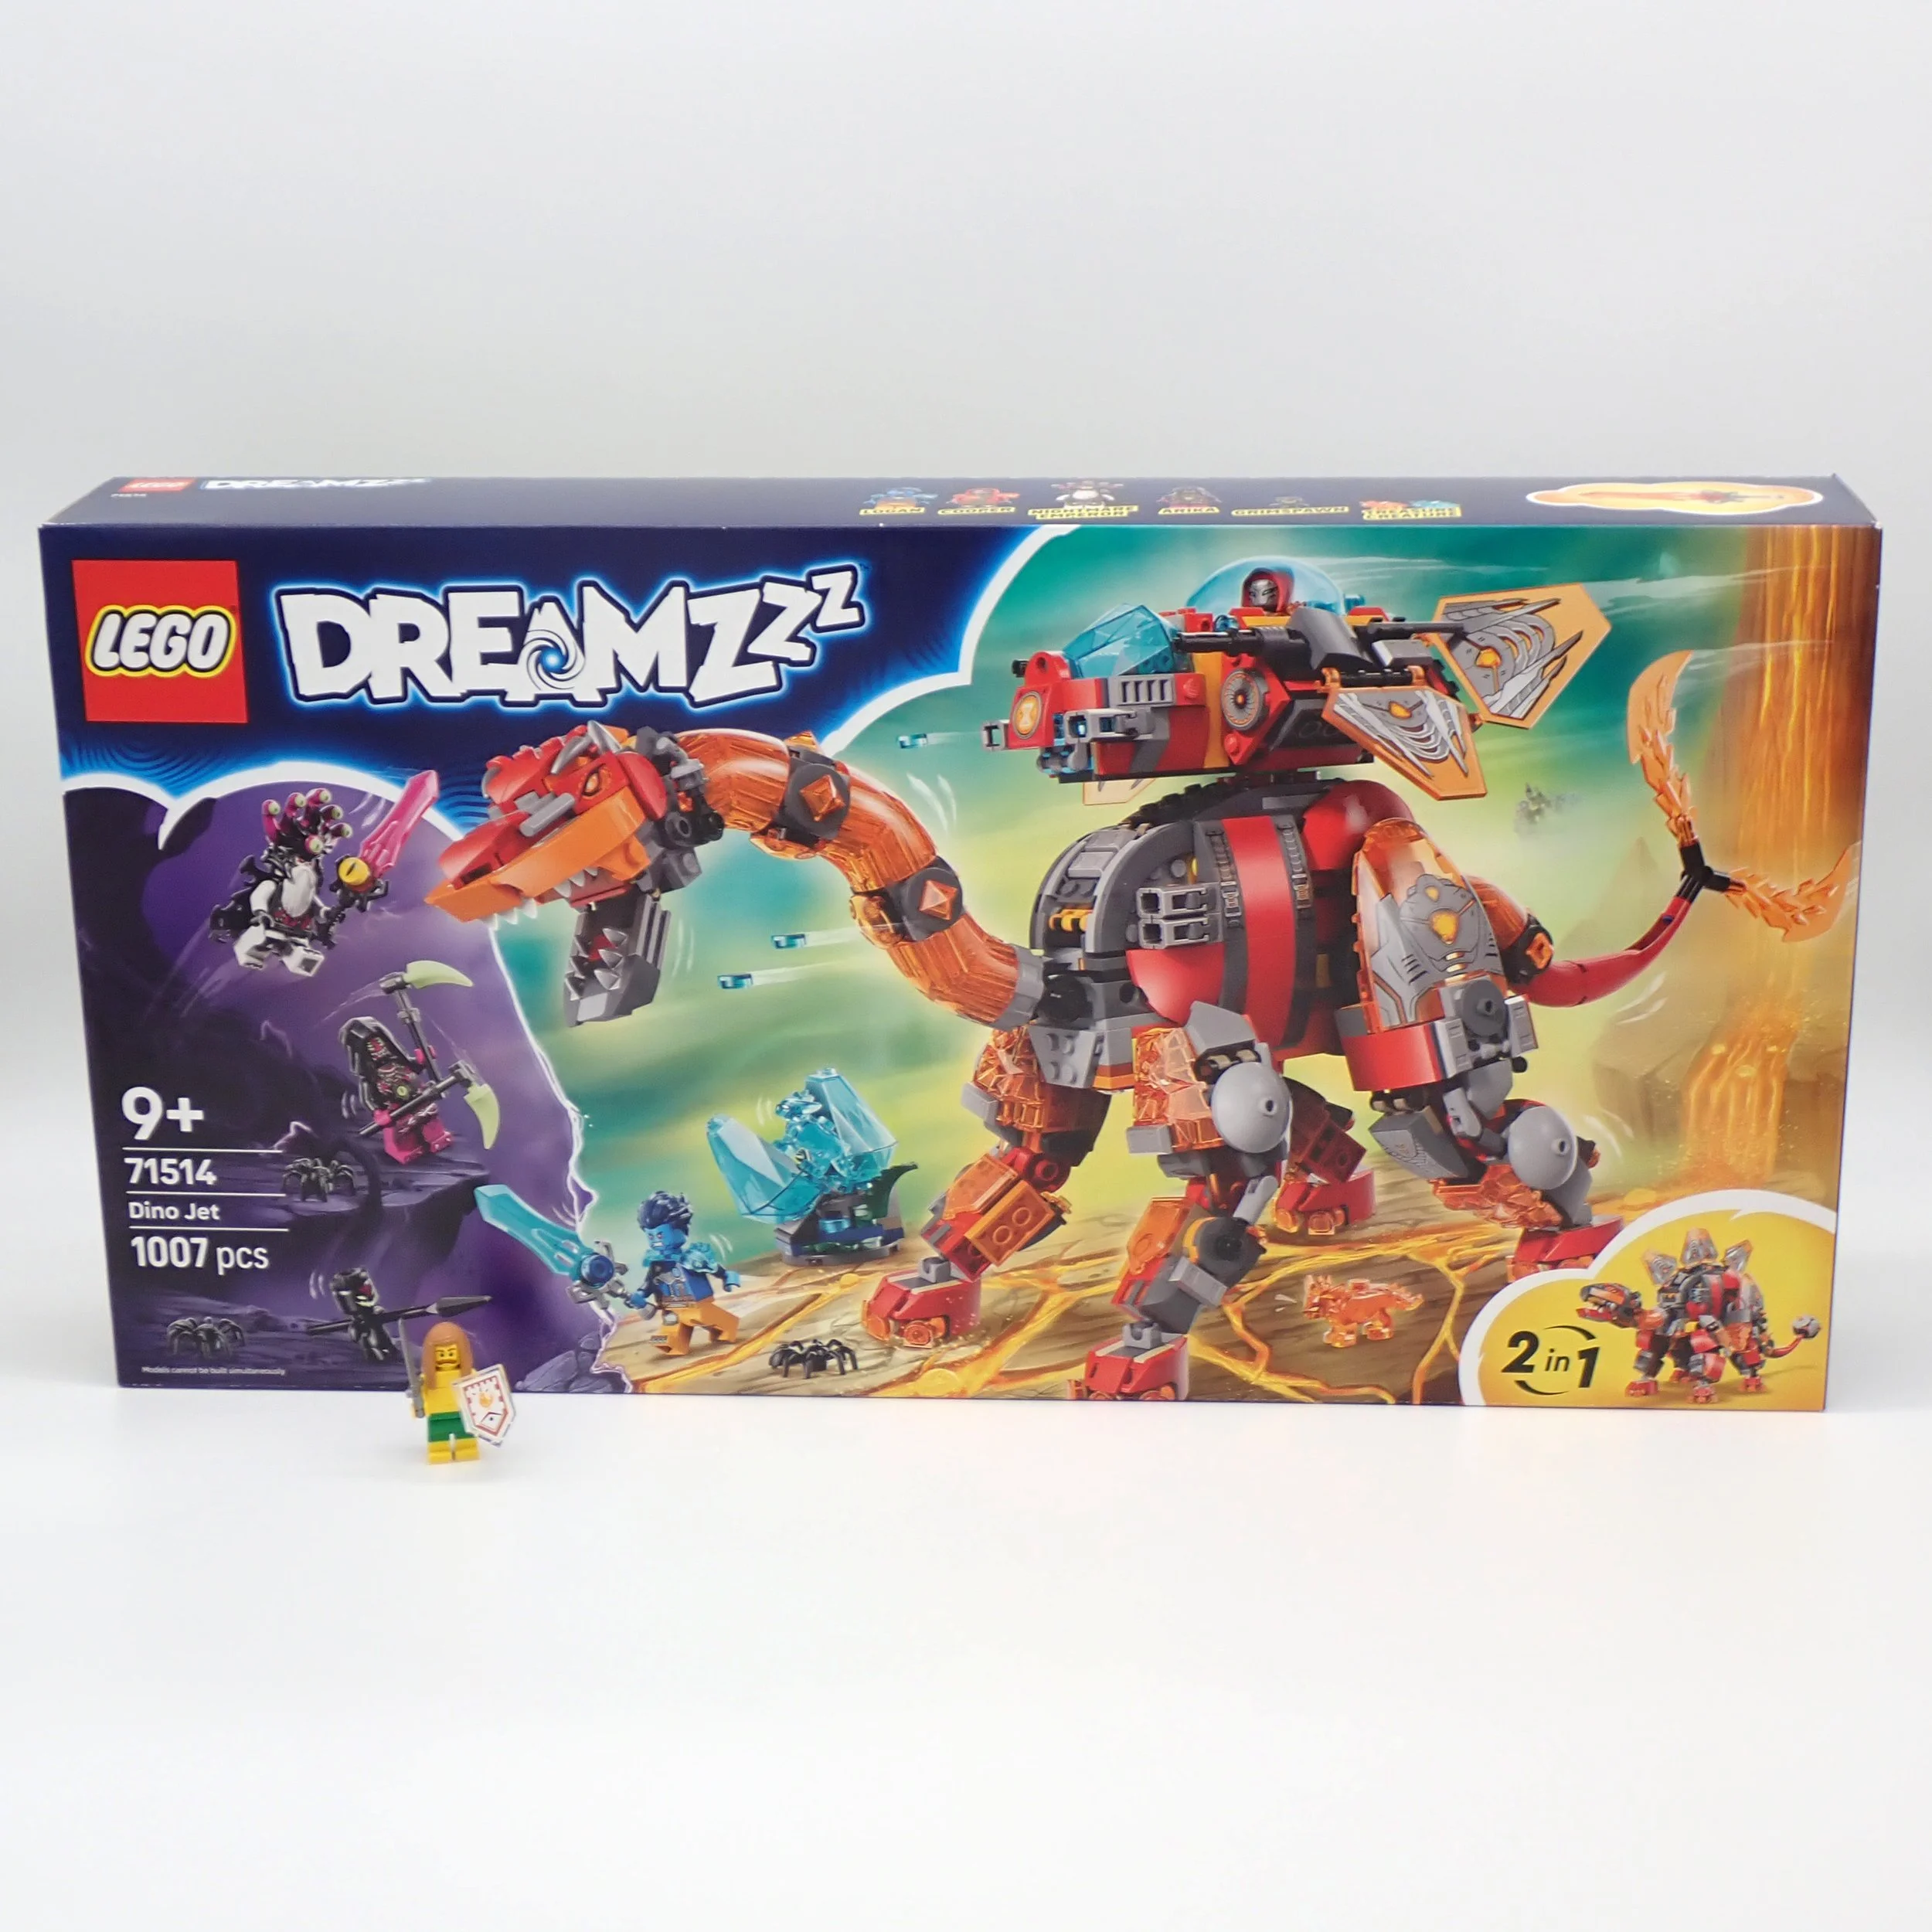
Following up on our alt build exploration of the first four sets from the latest wave of DreamZzz sets, today we have T.E. taking a look at one of the highlights of the wave, 71514 Dino Jet. After all, are there any two cooler words in the English language than “dino” and “jet”?
As a master of sci-fi MOCs, I knew T.E. would put the set to good use, but boy, did he go above and beyond my expectations! From alternate models to custom instructions, he perfectly demonstrates the creative potential that the DreamZzz theme has and explores some alternative ideas for the set! I’ll let him take over from here…
A Study in Ufology
I received set 71514 Dino Jet from LEGO on behalf of BrickNerd. This was truly a pleasure and a dream (pun intended) as I have always loved dinosaurs. Plus, this mechanical-looking beast harkened back to joyful childhood memories of a certain rainbow of robot-driving superheroes.
View fullsize
View fullsize
While that was my initial thought upon seeing the set for the first time, my MOC-building side took over right away. A diversity of parts is a big driving force when I build, so one quick scan over the front of the box and I knew exactly what I wanted to build. All of those curved elements and mechanical decorations begged to be turned into a flaming flying saucer! Thus the vision was clear and I began to get to work!
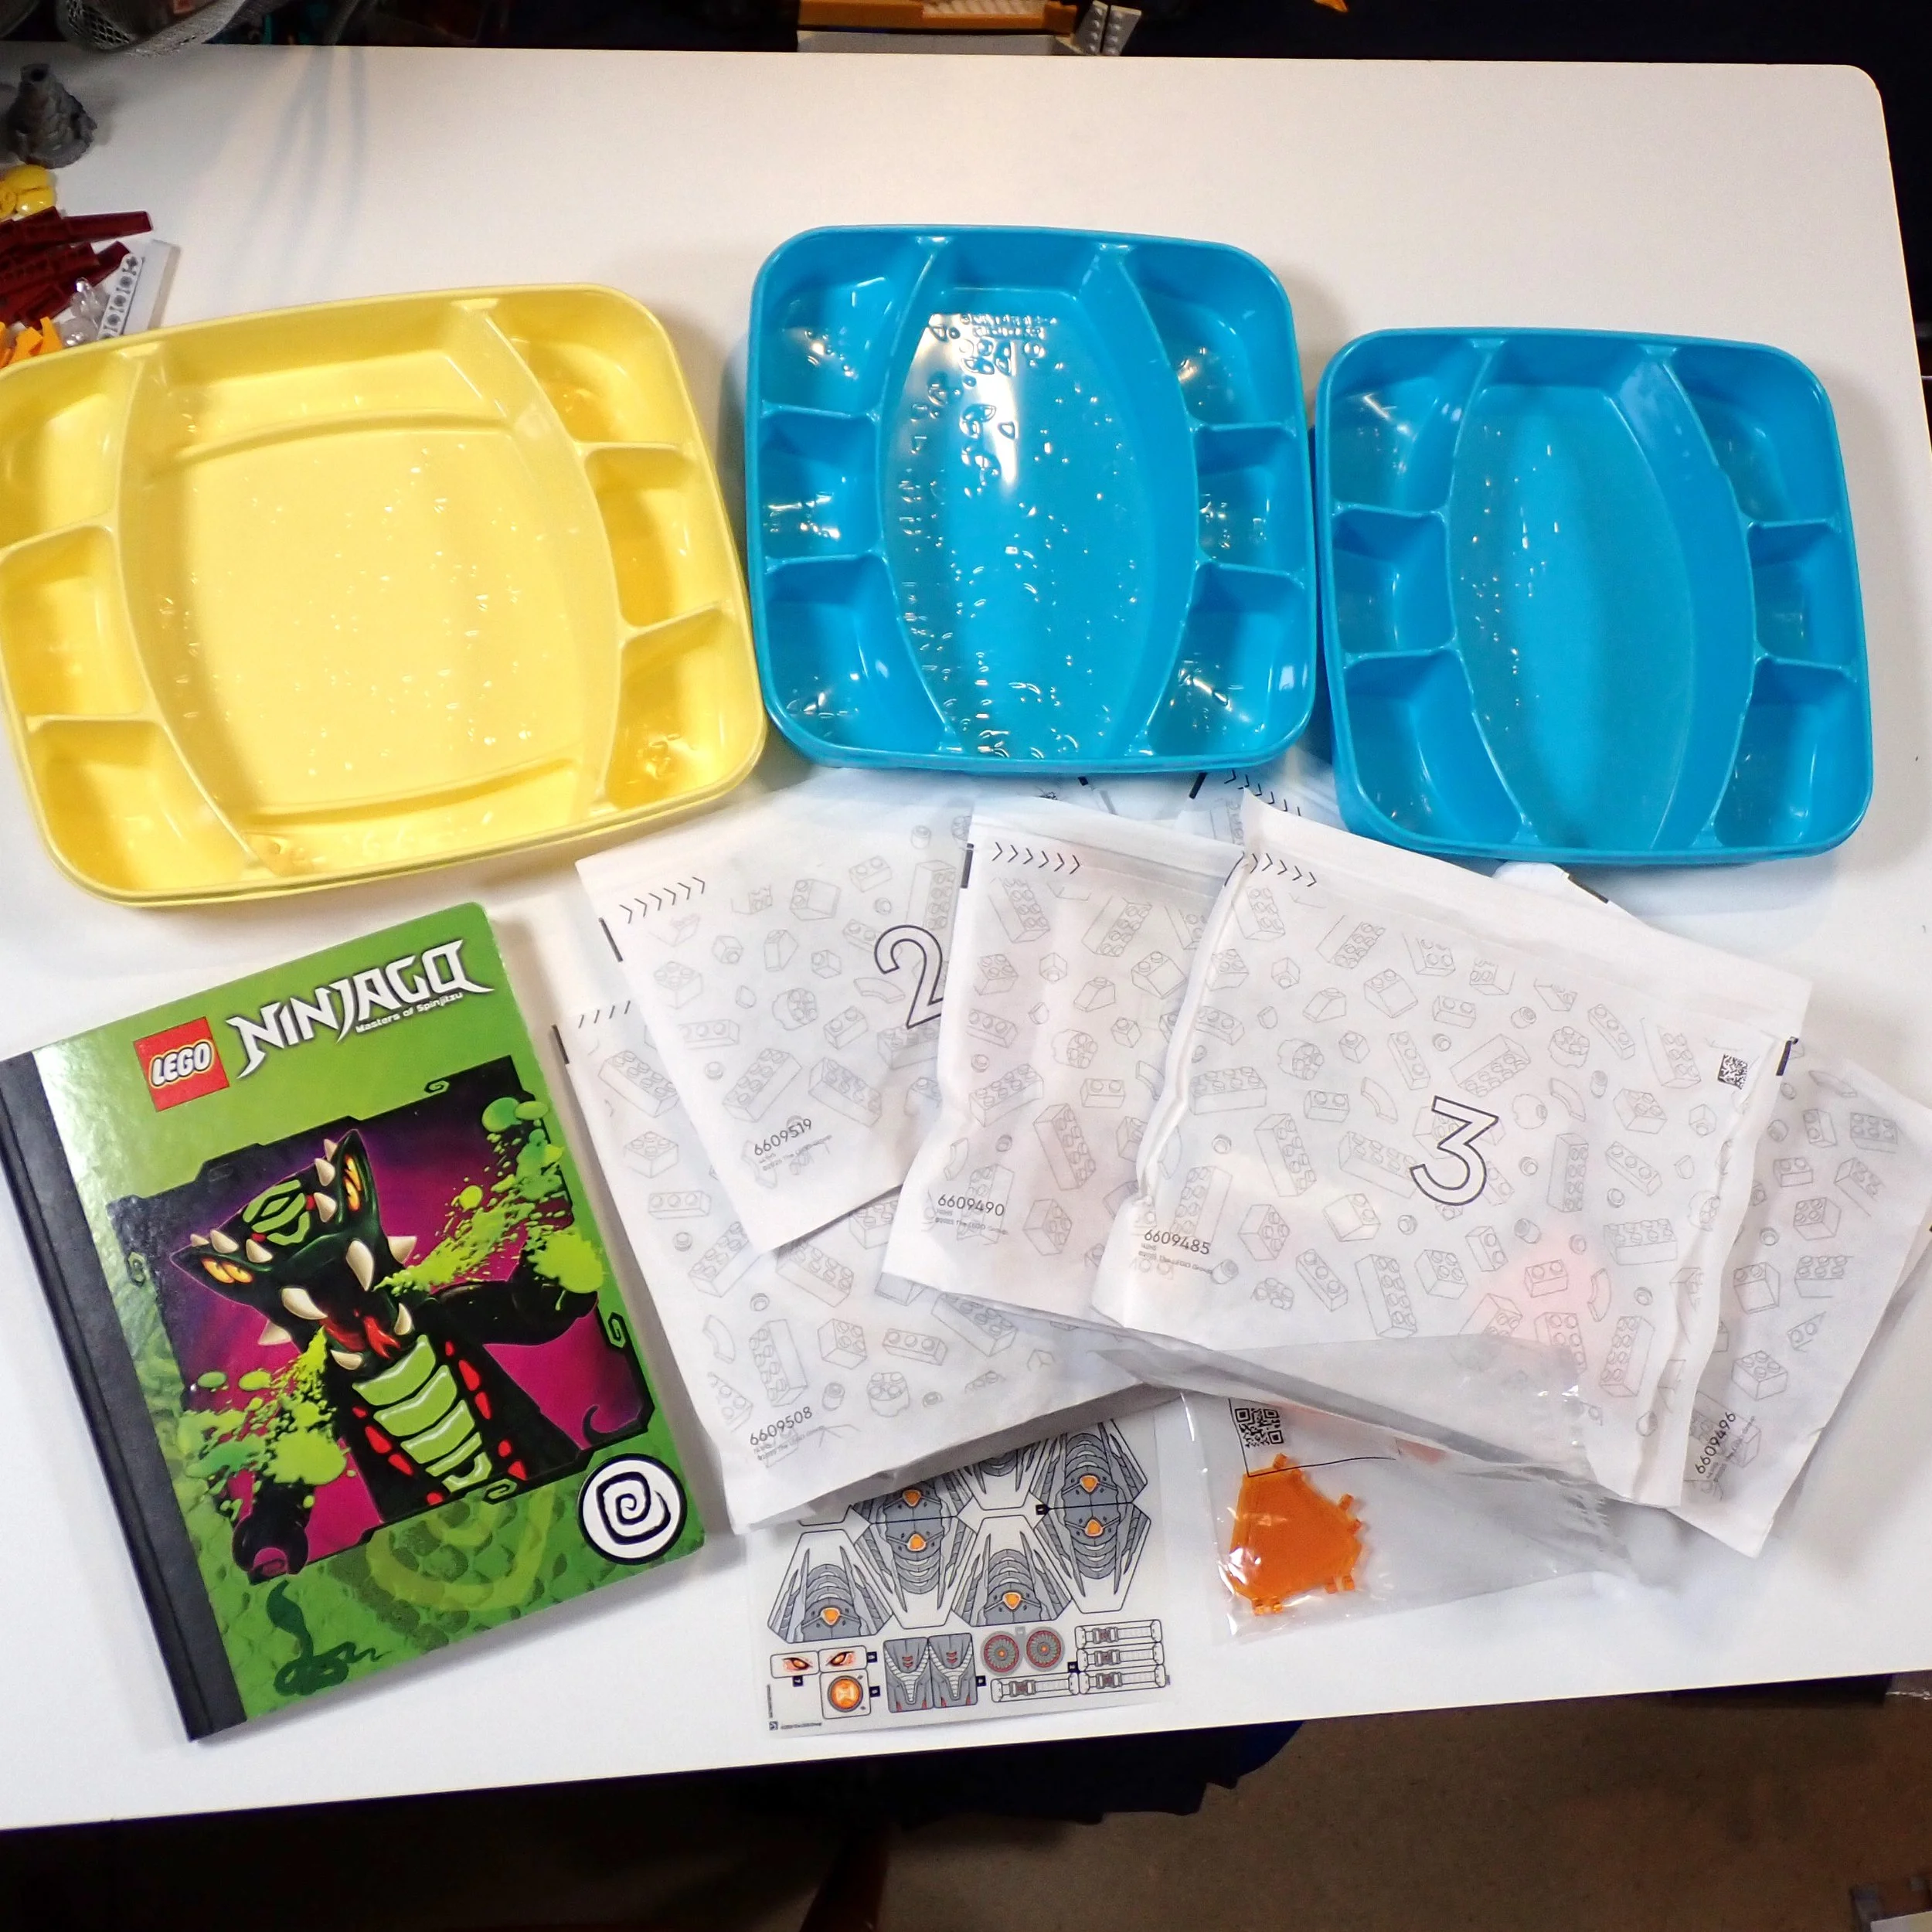
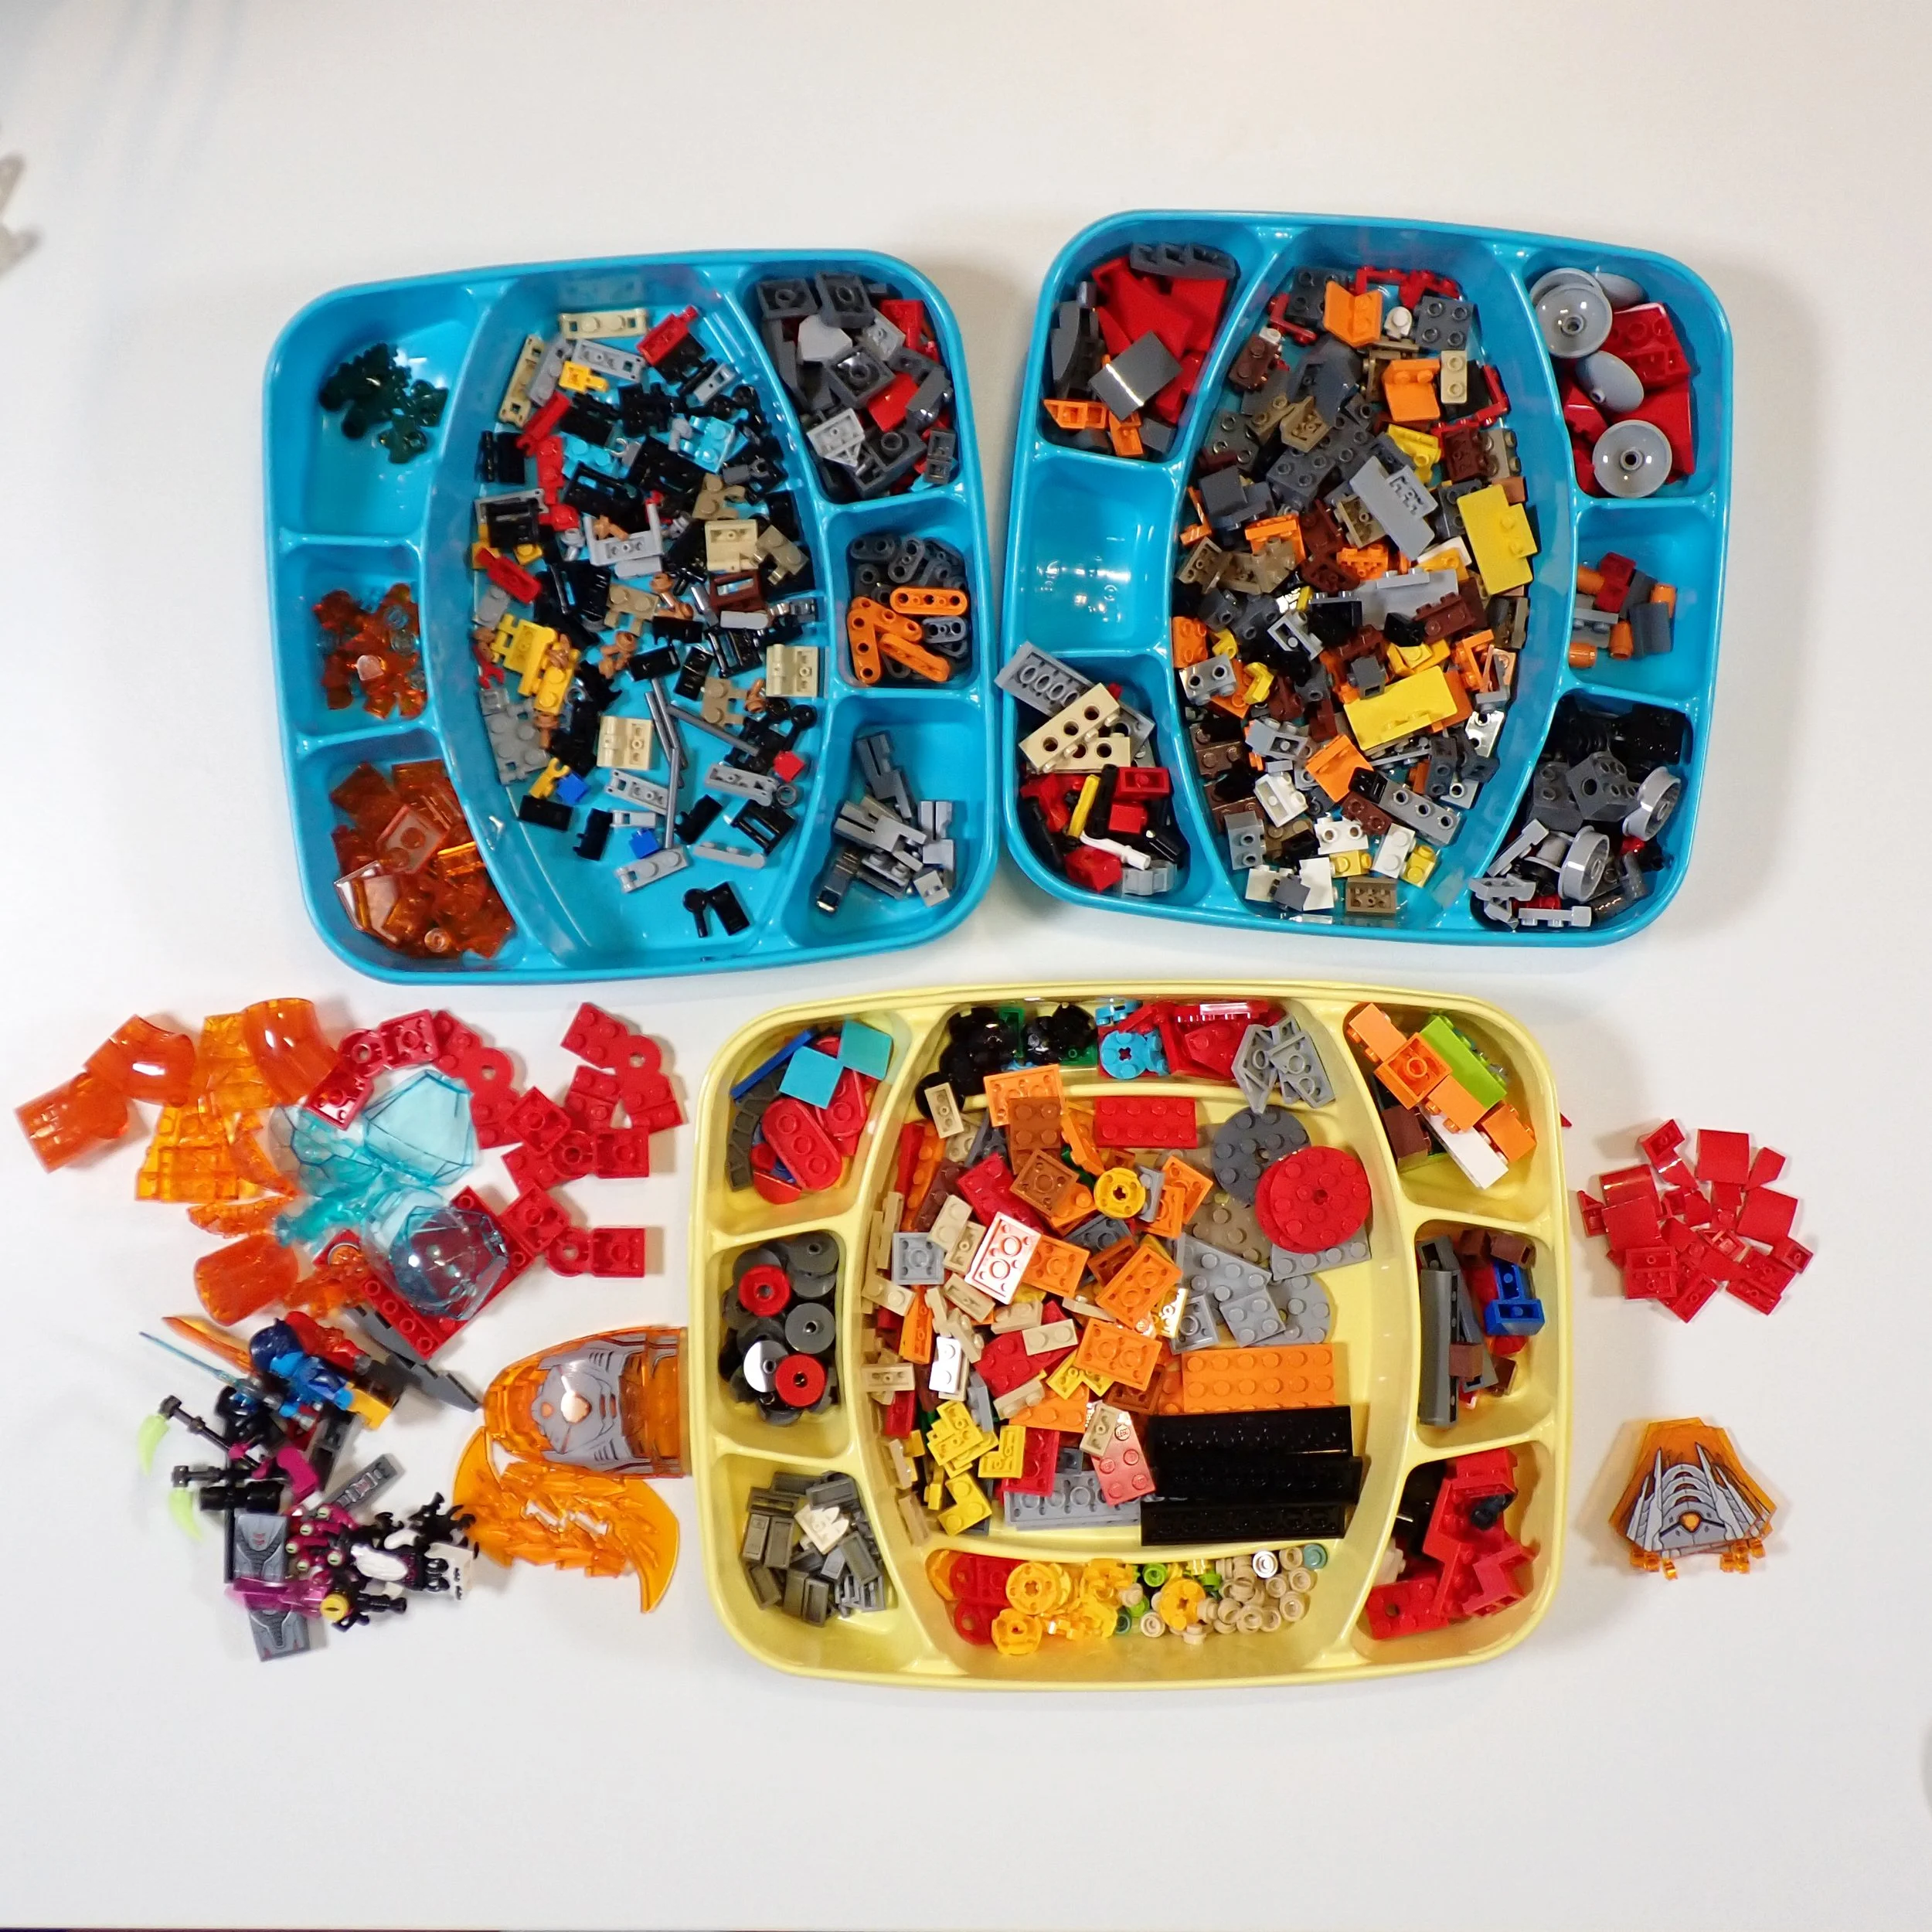
I knew the process needed to be done properly, so I broke out the fine china: Dots trays for sorting and a 2012 Ninjago notebook ripe for documentation! (Oh, and the bags of parts!)
View fullsize
View fullsize
After sorting, stickering, and setting the minifigures aside, there was one piece above all else I wanted to start with: the big macaroni tubes in transparent orange. My initial thought was to use them for the outer ring of our saucer, but the set includes four. That’s only enough to make half a ring! Luckily, the set comes with the large, locked mech joints, which just so happen to be at the same angle as the tubes!
With the marriage of the two parts, I was able to get the ring on a roll! Though just shy of a complete circle, the lack of the angled bits gave me the idea to dedicate a space for thrusters. Once I had a concept of how the outermost section of the build would work, I decided to pivot to the center of the build to gauge the full space constraint of the rest of the contraption.
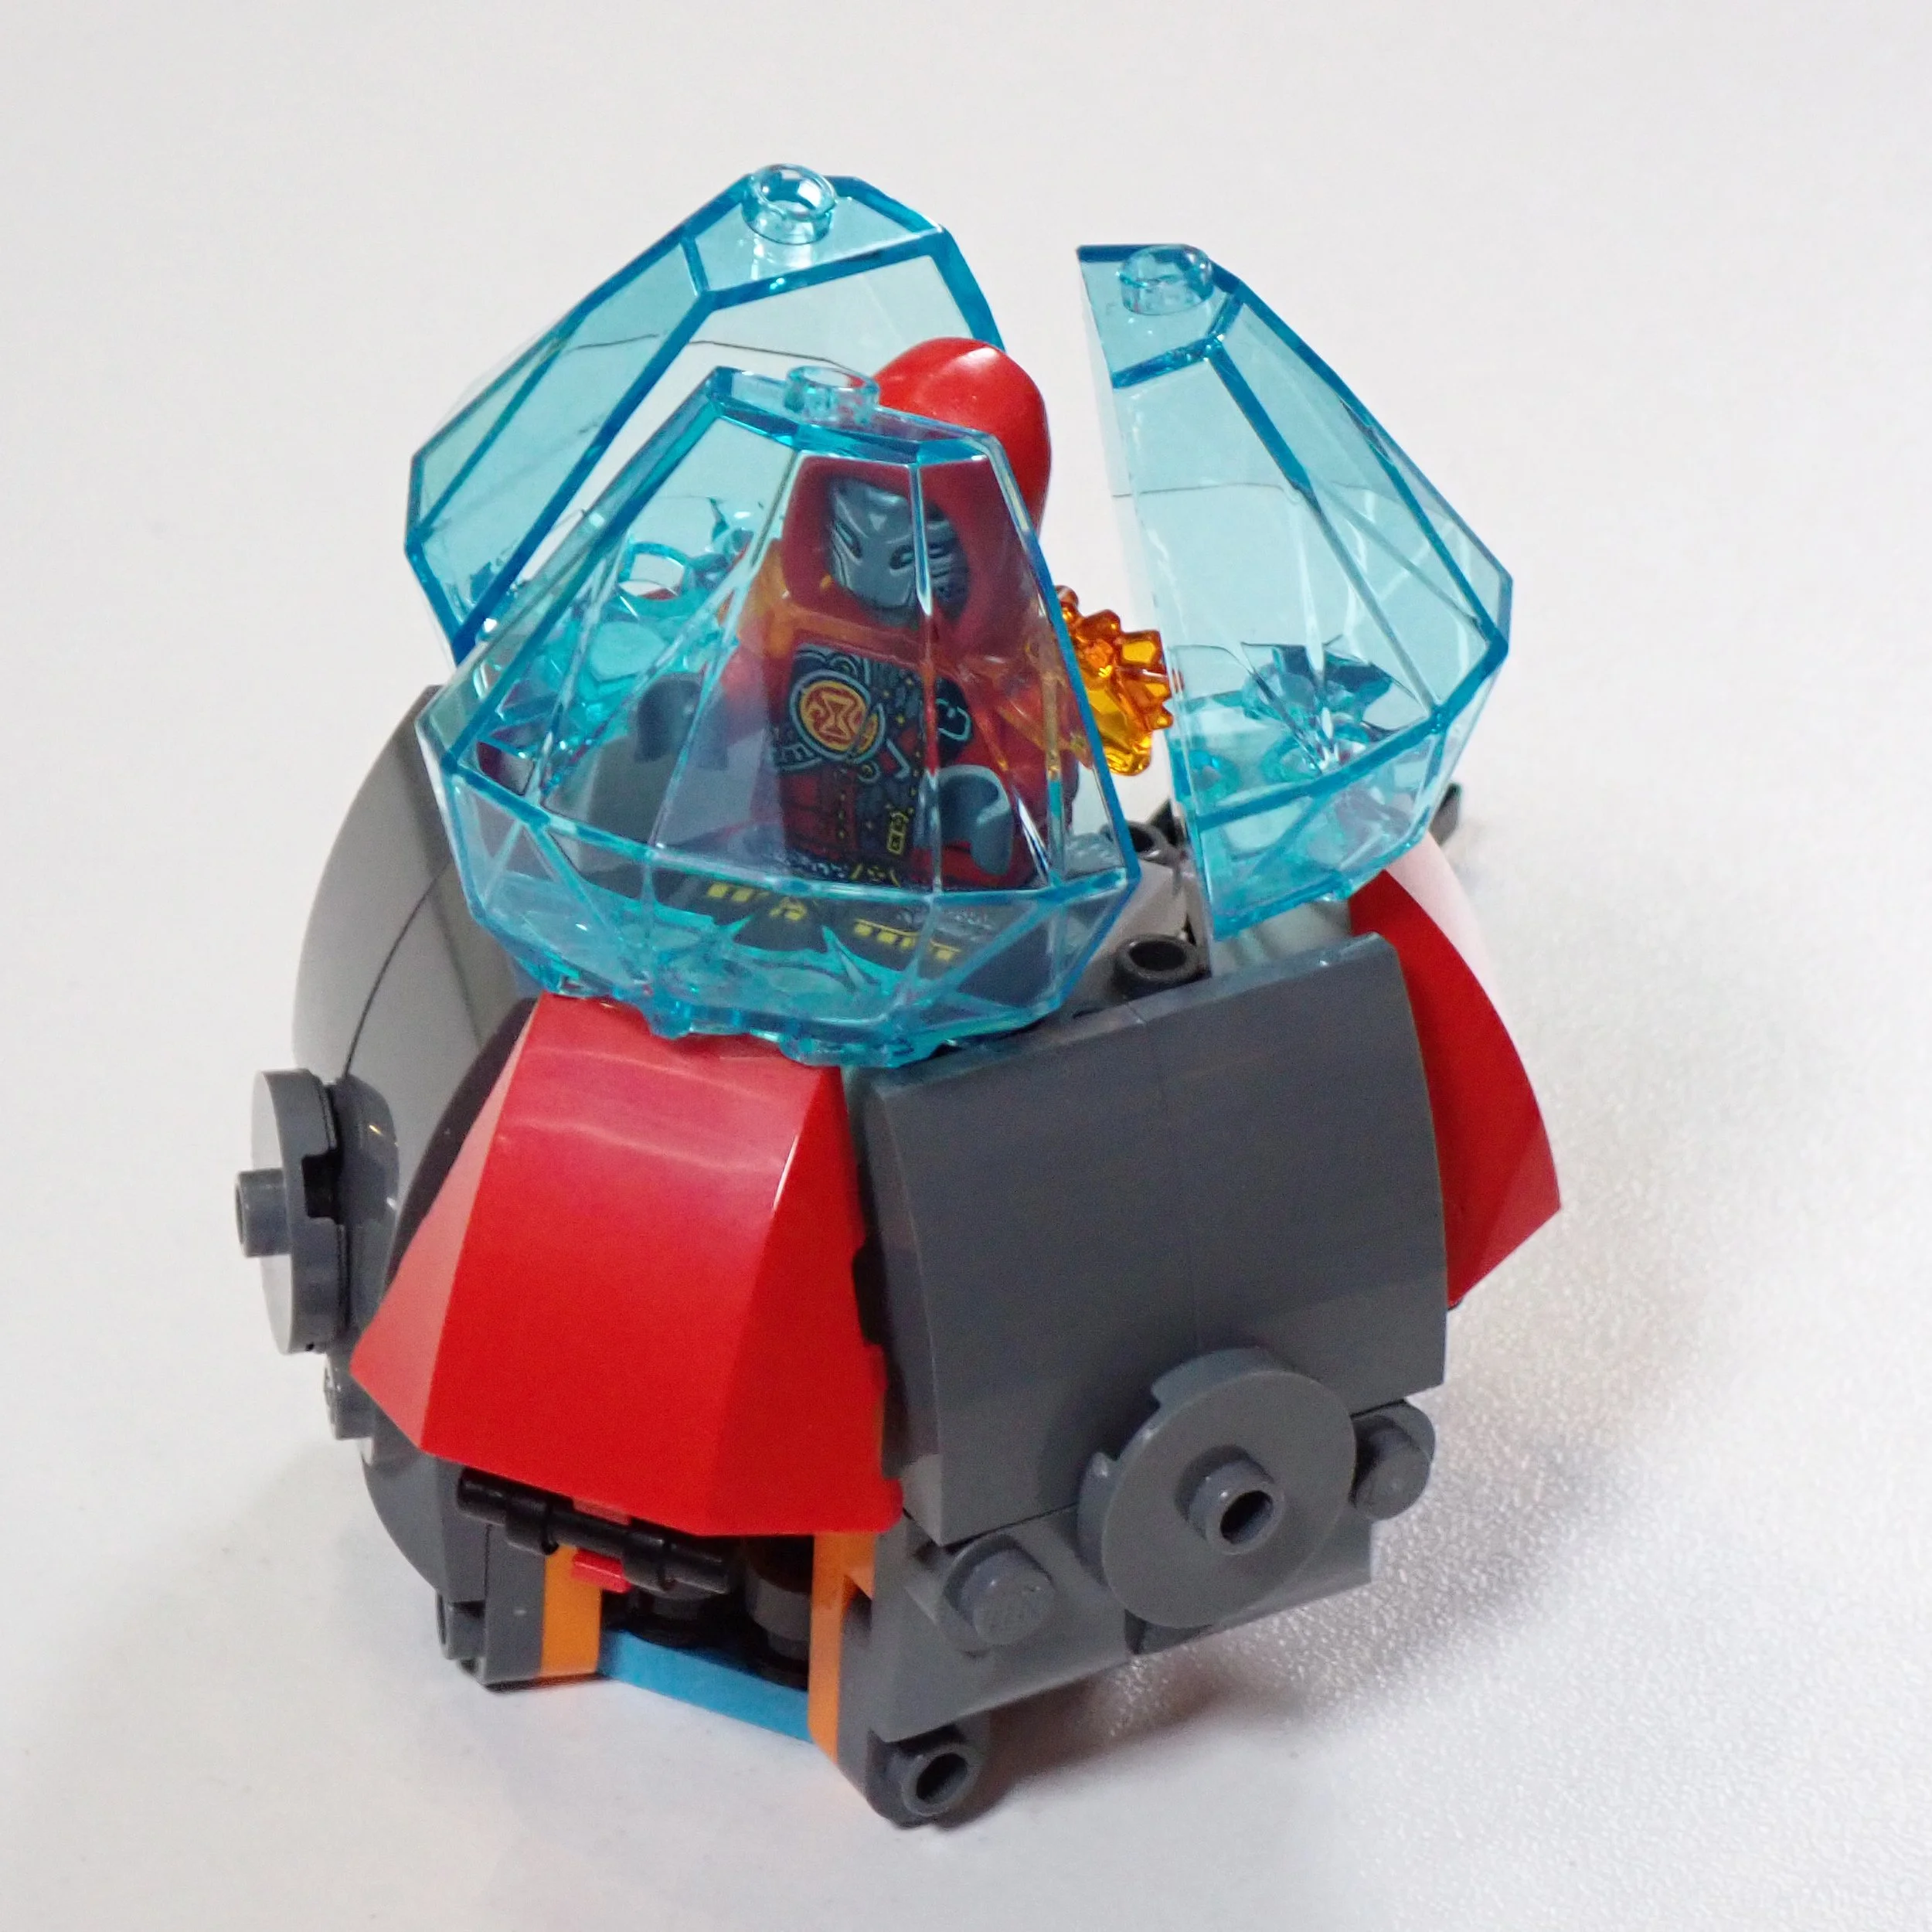
There is a bubble canopy in the set that would work as a traditional centerpiece for a saucer, but there are plenty of other transparent parts that could make for a more interesting core. One being a new mold for this wave of sets, the large half gemstone (7591)!
This set includes three of these oddly shaped rocks. The instructions use two to encapsulate the fox-like creature (another new mold!) and the third acts as a small canopy on the flying vehicle. Using all three in one go, we can finagle a triangular shape to allow enough room to fit a full minifigure.
This brought up one of the first major hurdles: the set included only a single 3-sided piece to assist with this, and it was one of the very few Technic pieces in the whole package! (If I haven’t mentioned it yet, this build will consist of just the elements included in the set – no extras! So the extreme limitation on Technic parts has made this quite the challenge!)
Using a few tap elements, I converted the axle holes to studs and hinged the gemstones to close off the canopy. I then spent far too much time trying to seal the gaps below, but with no luck.
I initially connected the gray panels to the neighboring red ones, but this left things either too tight or with too many gaps. This wouldn’t do, so I moved on to a second (and even more time-consuming) technique involving angled SNOT connections.
I did not quite stick to the traditional connections for sideways building with the given constraints. These bars and studs with bar holes provided flexibility to not only angle off the grid but also fit into tight spaces. The math was right, resulting in a very strong build, but it would set the whole subassembly too far forward, which didn’t quite look right.
View fullsize
View fullsize
View fullsize
Locking It Together
Pivoting once more, I adopted a fresh approach, starting with two perpendicular hinges at the back. This would provide me with a bit more flexibility, as I could adjust the length of either hinged segment without being tied to the preset angles I had set via the canopy.
A little more tinkering and it became a very satisfying 1-2 movement that would slot right into place. Success! The addition of a double-sided SNOT brick to the center then acted as a perfect stopper to keep this fitment, and I could finally move along to the next part of the build…
Seeing how many large hinge joints were at my disposal, I thought our saucer could use a retractable claw. No crazy build techniques in this sub-model—I just used up what hinges I could and moved along (The back end was later switched from 2 to 1 hinge for extra pose-ability but otherwise remained the same until the end of the build).
It was time to build a structure that brought everything together (and add some thrusters!) I saved the largest of the click hinges for the ring to have a familiar, transformative feature.
The design was taking shape, and though it was drifting further from a traditional saucer, the process was taking its own path toward something a little more… fun.
After testing the movement and seeing how things lined up, all that was left was to bulk up/reinforce the core with sideways connections. Trust me, this set had plenty of elements to work with to achieve this!
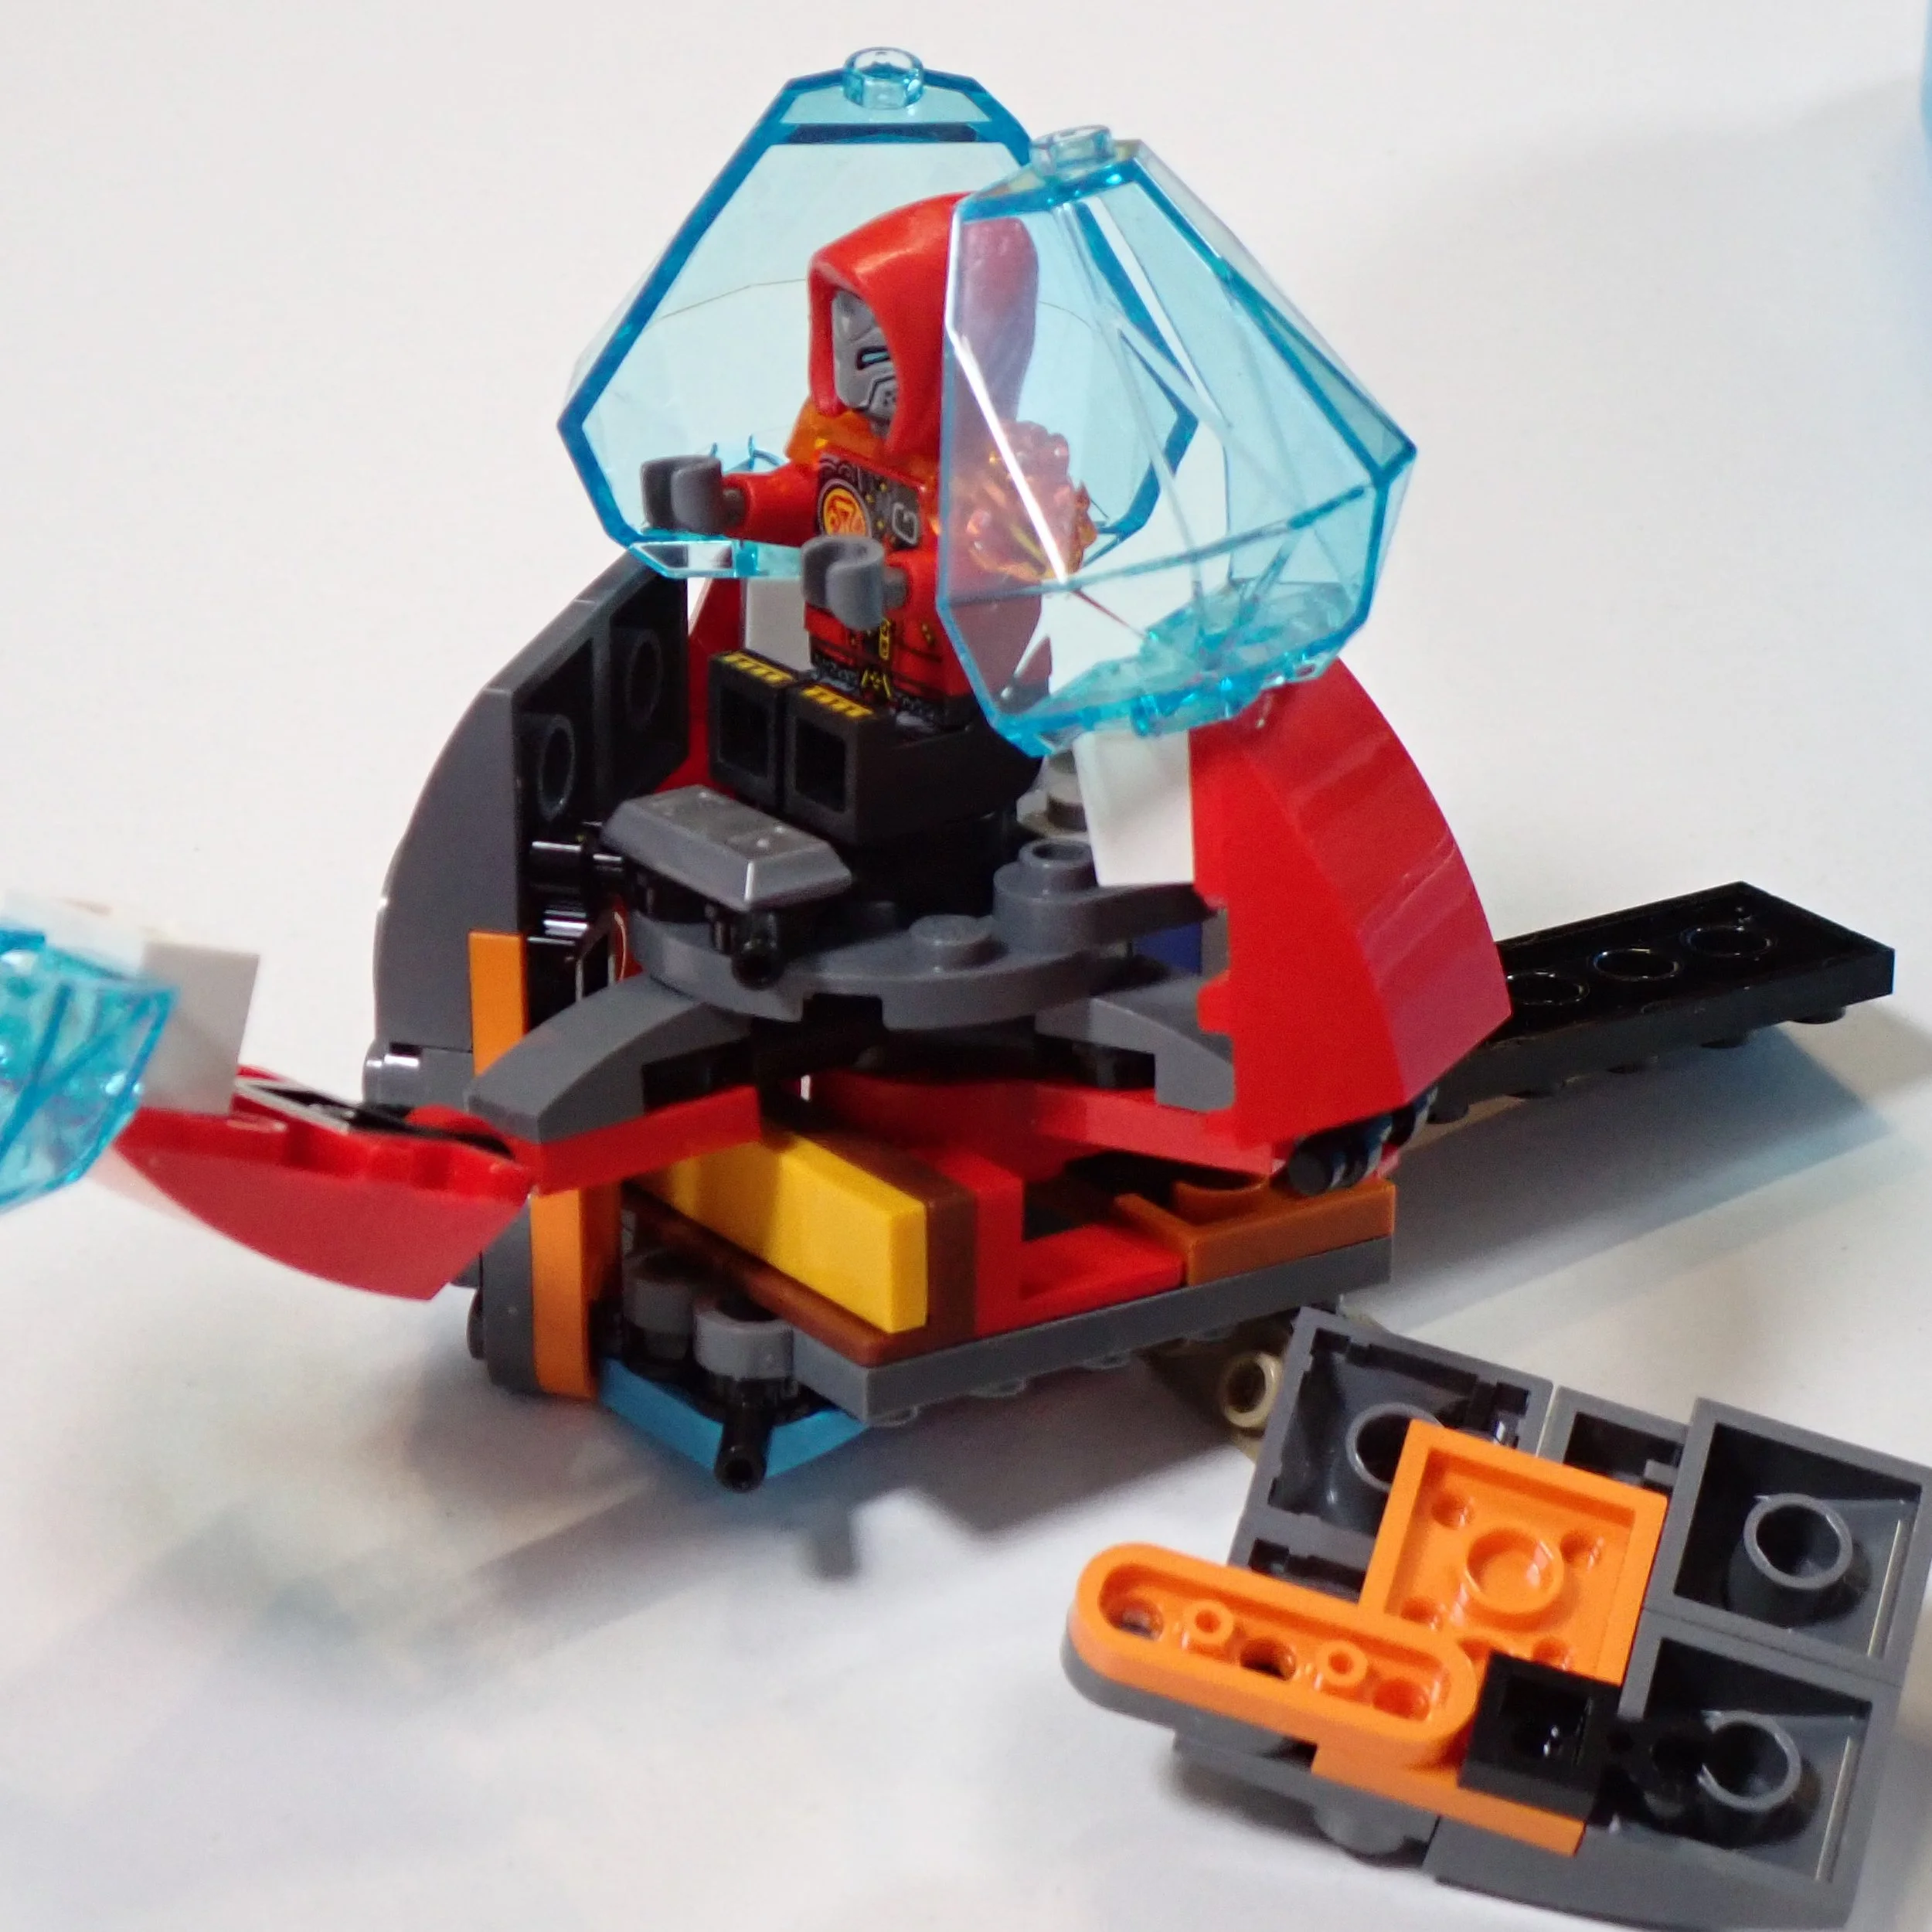
With the base sturdier than ever, a few components were repositioned, leaving some open space. So I included an adjustable trio of stud shooters right behind the driver’s compartment and a secondary passenger cabin in the rear.
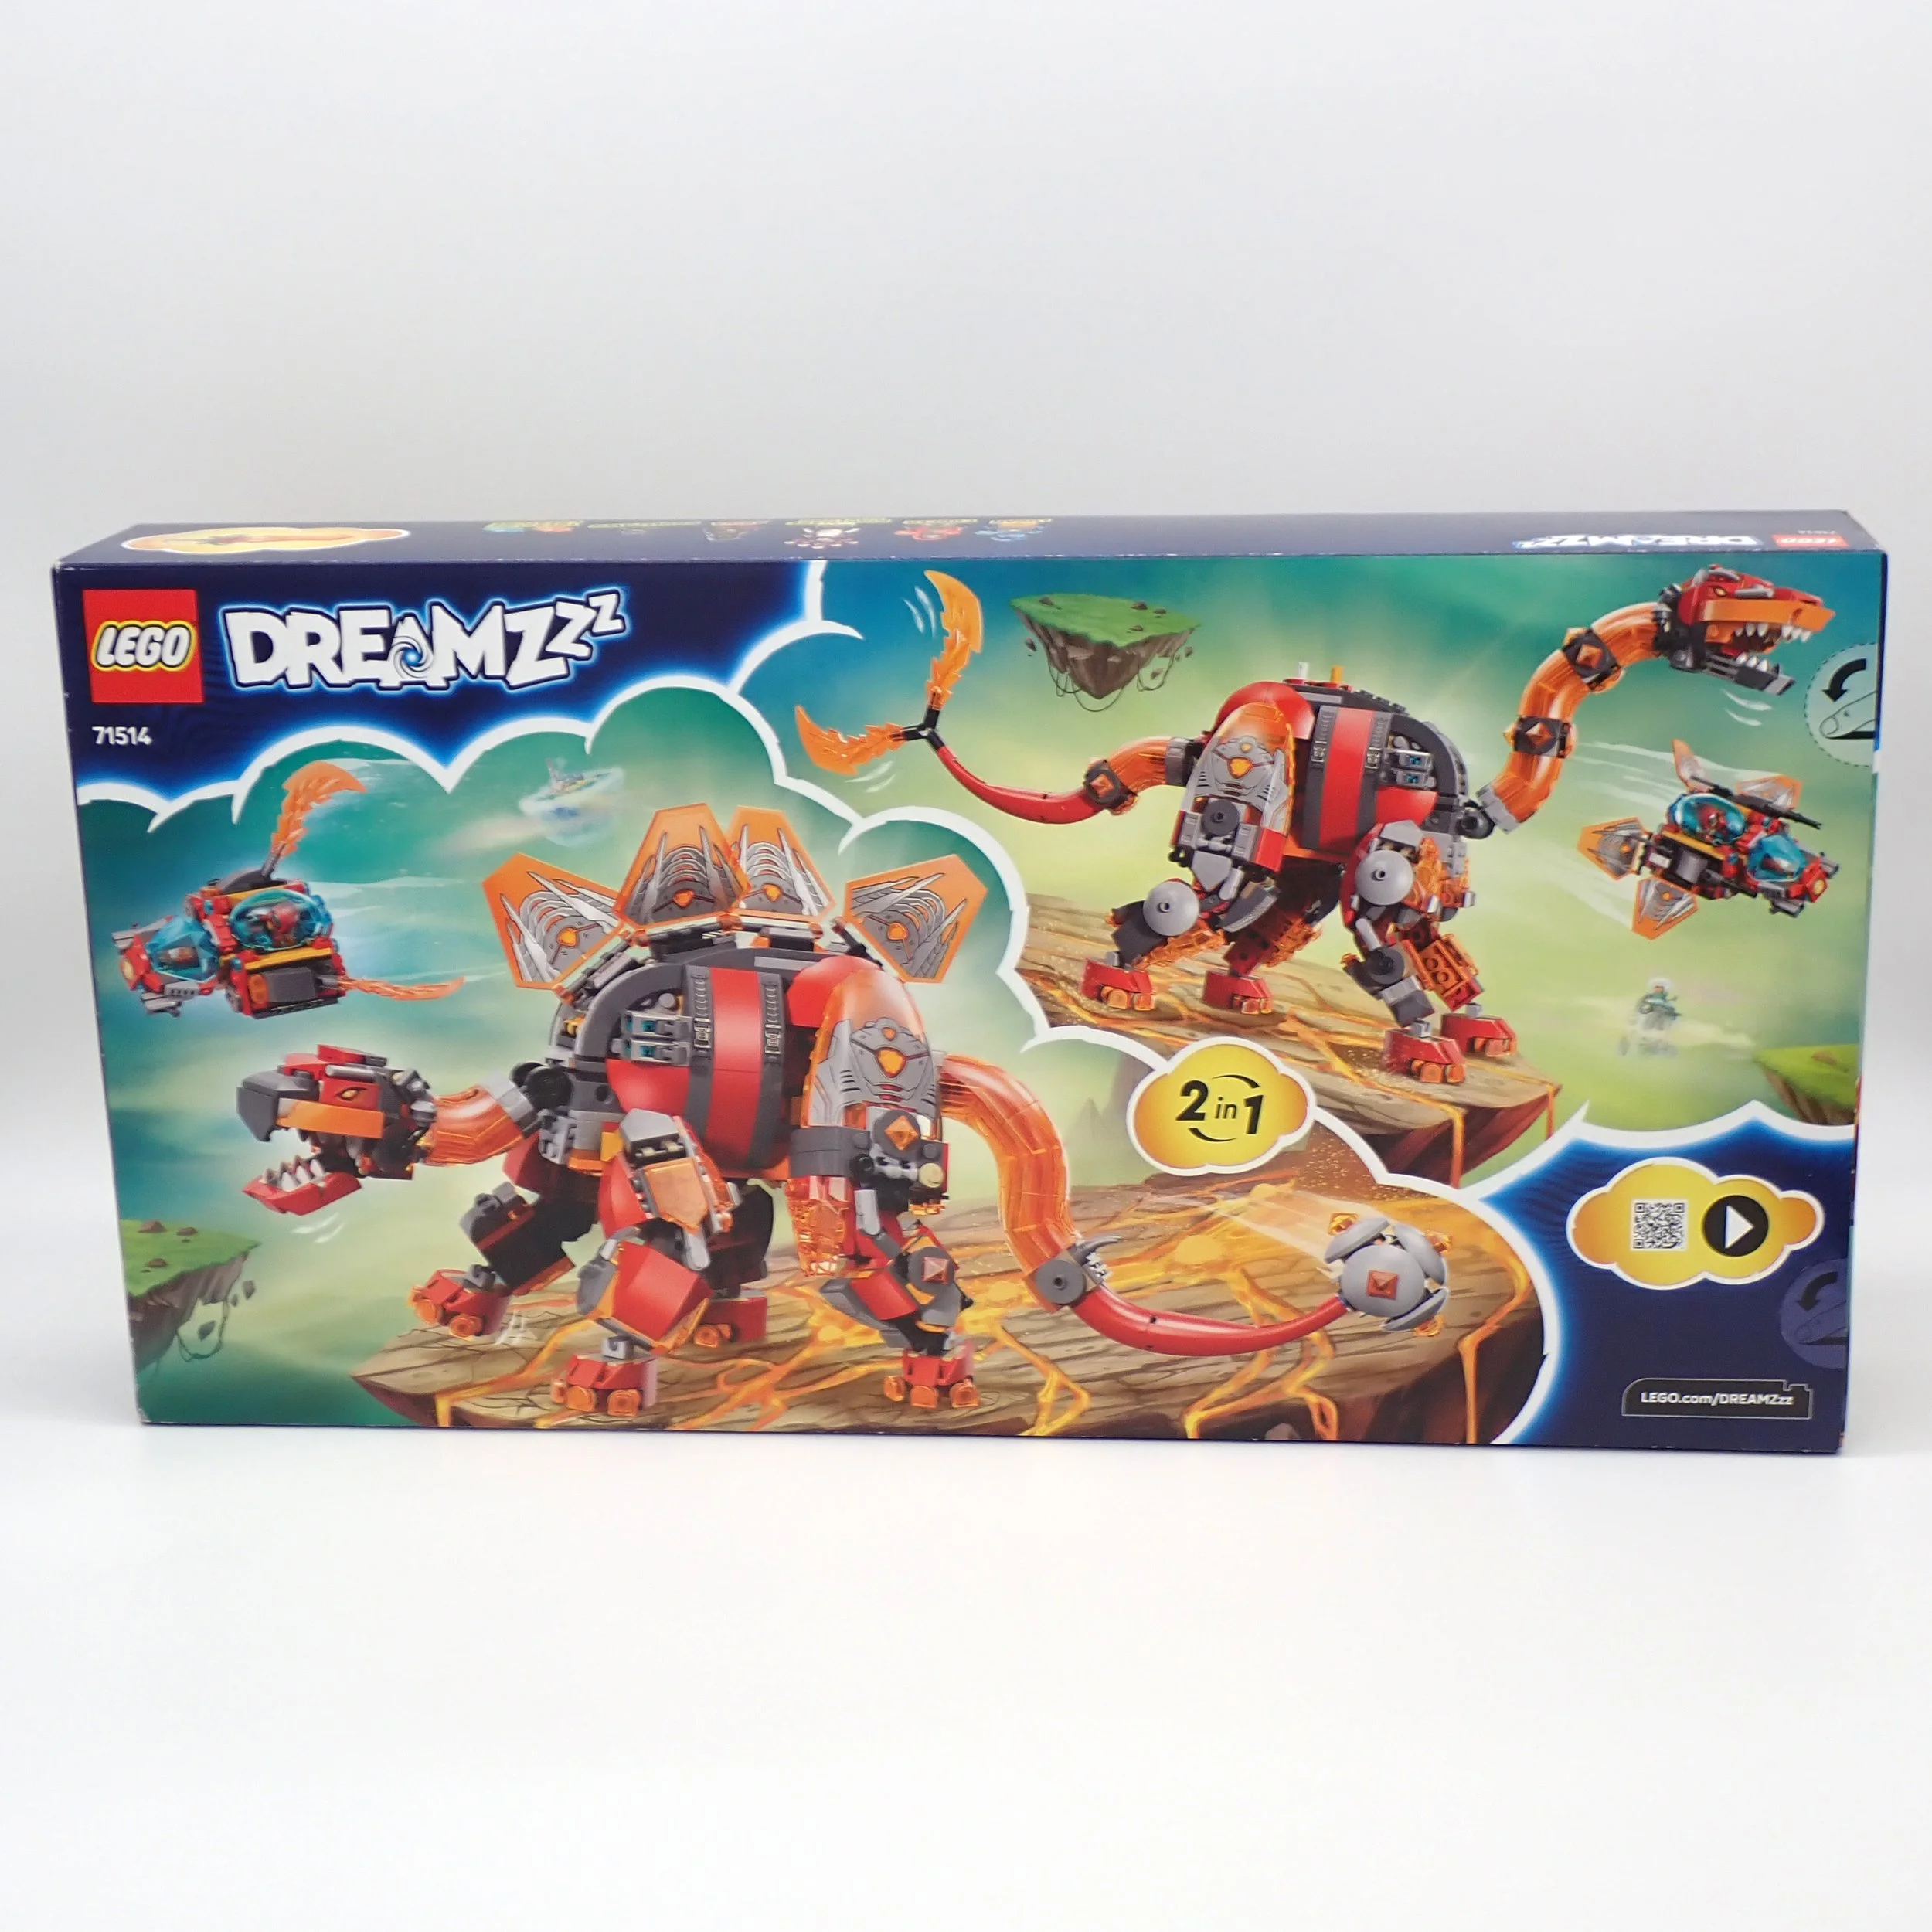
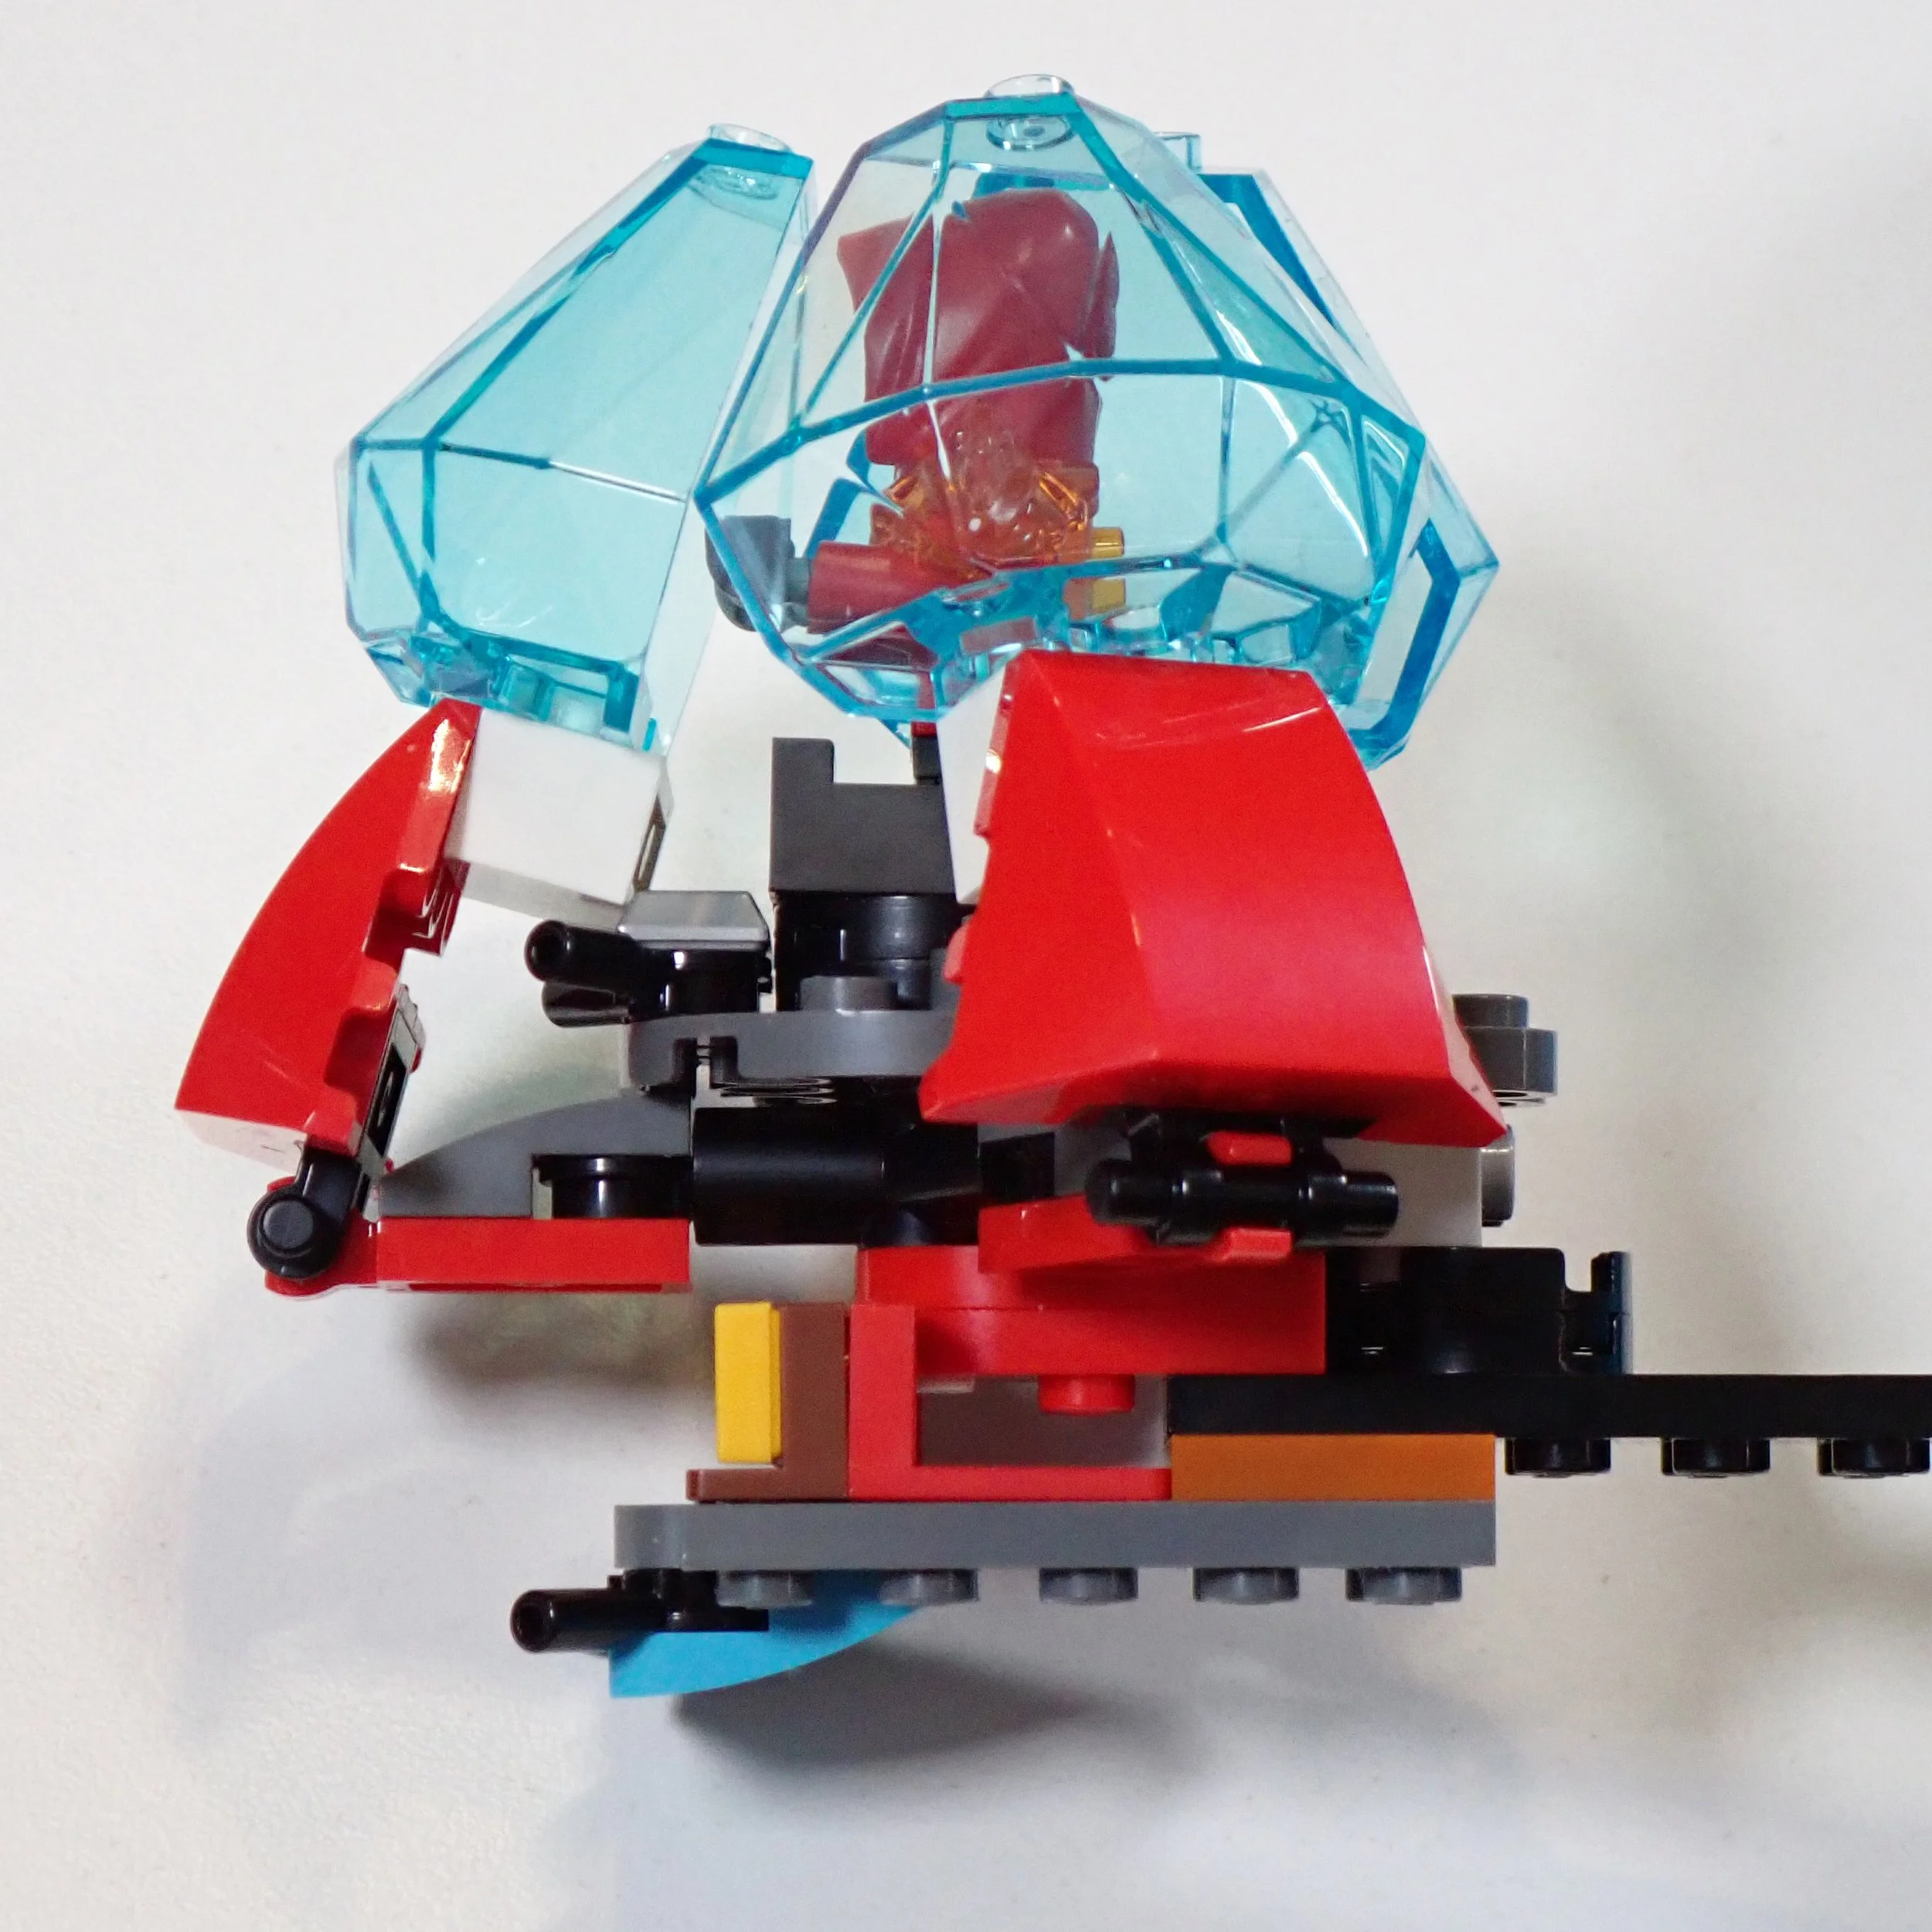
After strengthening the connection from the core to the ring, I was ready to call it complete. What was once planned to be a flying saucer ended up becoming something more: The Lobster Tripod! It comes in three modes: the first, closest to the initial disk-based flying vehicle, which can open and extend a tail to resemble a lobster in its second form. Then we can move some things around where the arms swing down to become legs and the tail becomes an extendo-claw!
It certainly became a silly vehicle throughout the process and was a joy to design. However, there were still a lot of ideas floating around in my head, and I knew I could do better…
A True Dino Jet
Early on after receiving the set Dino Jet, there was something bothering me that I wanted to fix. For a set named “Dino Jet,” it was more of a Dino AND a Jet. So I set out to fix this by bringing the whole model together into a proper build befitting the name.
This time around, I gave myself a break by incorporating the two side builds of the set. This would help reduce the overwhelming amount of parts by a hundred (or so), and I would be able to include some of the base play functions.
Now, I could have slapped some turbines on the side of the Brachiosaurus and called it a day for a “Dino Jet”, but there is a much more fitting dinosaur that translates into a high-speed plane over that idea. I thought a Pterodactyl would be a perfect translation into a supersonic jet. (Plus, I want to see more species of dinosaur built from this set!)
Being more of a creature build, I knew I had to start with the face (or beak?). Iconic, defining features are a great thing to start with in any character build, as our brains will jump to it first to judge if it looks right or not. For a Pterodactyl, the wedge-like head is a detail I could never forget, and if I didn’t get that right, I would have failed to capture the look of the animal. Luckily, this set provides plenty of curved slopes, and the large tail element works perfectly to narrow down the back of the head.
Moving along to the main body, there were two things I wanted to keep in mind: first, it should remain a flat, somewhat wide torso. Second, I wanted to integrate the landing attachment for the small vehicle in the set.
This part of the build would pose no challenge (and I made sure to use as many sideways brackets as possible, knowing how many the set can spare!). However, the comfort of building this strong base would soon hurt another part of the build: plates. The moment I finished the central structure, I realized I had little left in order to make the membrane wings!
The Wing Problem
The bulk of the wings would need to maximize what flat (and color-appropriate) parts I had left. I did have many of the short curved plates remaining, along with a pair of the 4×4 tiles with 4 studs on one side, and I knew I could cap it off in the back with those decorated hexagon flag elements.
I began to start experimenting with whatever I could think of. I got the first wing mostly complete, but was unsatisfied. I knew I had to try again for a smoother, more complete look.
Leaving the first wing intact, I was able to reference it as a first draft on what NOT to build. On the second design, I knew I was on the right track. Many things were fitting right into place, and much of it was beginning to blend into the neighboring elements. While nothing fancy, a connection I’m very satisfied with is matching up the front curves to the same front edge of the top curves. This was simply thanks to the overdose of locking SNOT brackets.
Once the wings were completed, I pivoted back to the add-ons. I continued what the set had started by adding onto the back-mounting shuttle. This side build would become a nice home for the larger parts, especially those tubes. Unfortunately, the lack of Technic elements struck again! Without many axle-to-brick connections, I was running low on what could be used to provide a strong connection for the tubes. Luckily, there were still a few tap elements to make a similar conversion to the first build. (And this led to the curves lining up closer to the edge of the windscreen!)
A pair of beefy engines came together quickly with some curved flair near the exhaust. To counteract the bend (and so it didn’t look like the outward boosting effect was curling into itself), the engines were hinged and locked into place thanks to a slope element.
The build was looking complete, but there were still a good number of useful leftover pieces this time. An idea popped into my head: what if the dino needs a bit more firepower when the shuttle detaches? That way, one could upgrade the beast to fight alongside the small craft. A pair of items that could be tacked on in the form of a singular, large booster and some turrets would help the creature look a bit more mean (if that’s how you prefer your cyber-enhanced dinos).
Dino Jet & Instructions
Now fully customizable, the proper Dino Jet was complete!
And as a bonus, I’ve made free instructions for the pterodactyl available on Rebrickable!
Overall, this process was fun and fulfilling! Thank you once again to LEGO and BrickNerd for providing me with this opportunity!
DreamZzz: Gone the Way of the Dinosaurs?
DreamZzz has been celebrated across the LEGO community for its creativity and customization potential, and if T.E.’s incredible alternate builds aren’t proof of that, then I don’t know what is! Rumor is that this wave of DreamZzz sets may be the last. Whether that’s true or not, I’m excited to see what the LEGO community continues to do with the theme in the future!
You can follow T.E. and check out more of his work on Flickr and Instagram. You can also check out our exploration of the rest of the 2026 DreamZzz wave here.
LEGO DreamZzz 71514 Dino Jet is available for around $100 US | $130 CA | €100 EU | £90 UK | $150 AU.
DISCLAIMER: This set was provided to BrickNerd by LEGO. Any opinions expressed in this article are those of the author.
Will you be sad if LEGO DreamZzz is cancelled? Did you know that “Dino Jet” is also the name of a LEGO Znap set? Let us know in the comments below.
Do you want to help BrickNerd continue publishing articles like this one? Become a top patron like Marc & Liz Puleo, Paige Mueller, Rob Klingberg from Brickstuff, John & Joshua Hanlon from Beyond the Brick, Megan Lum, Andy Price, Lukas Kurth from StoneWars, Wayne Tyler, Dan Church, and Roxanne Baxter to show your support, get early access, exclusive swag and more.
Leave a Reply